A lot of disappointing floor jobs are blamed on the product when the real problem is underneath it. A premium plank over a damp slab or a wavy subfloor can still look bad, sound bad, and fail early. That is why good installers spend so much time on moisture testing, flatness, patching, and perimeter planning before they start laying flooring.
What homeowners should know
NWFA’s concrete-subfloor guidance and multiple manufacturer instructions all say the same basic thing: the substrate has to be dry enough, flat enough, and properly prepared for the selected floor. That applies to wood, laminate, and rigid-core vinyl.
Flatness is not cosmetic fussiness. A floor that bridges dips or rides over ridges can develop noise, movement, cracked locking edges, or visible unevenness. In large rooms, those defects are easier to see because light skims across the floor.
Two terms are useful here. Telegraphing means a defect below the floor shows through the finished surface, such as a slab crack, patched area, or ridge. Lippage means one plank edge sits slightly higher than the plank beside it, creating a lip you can see or feel. Both often trace back to prep problems, not bad luck.
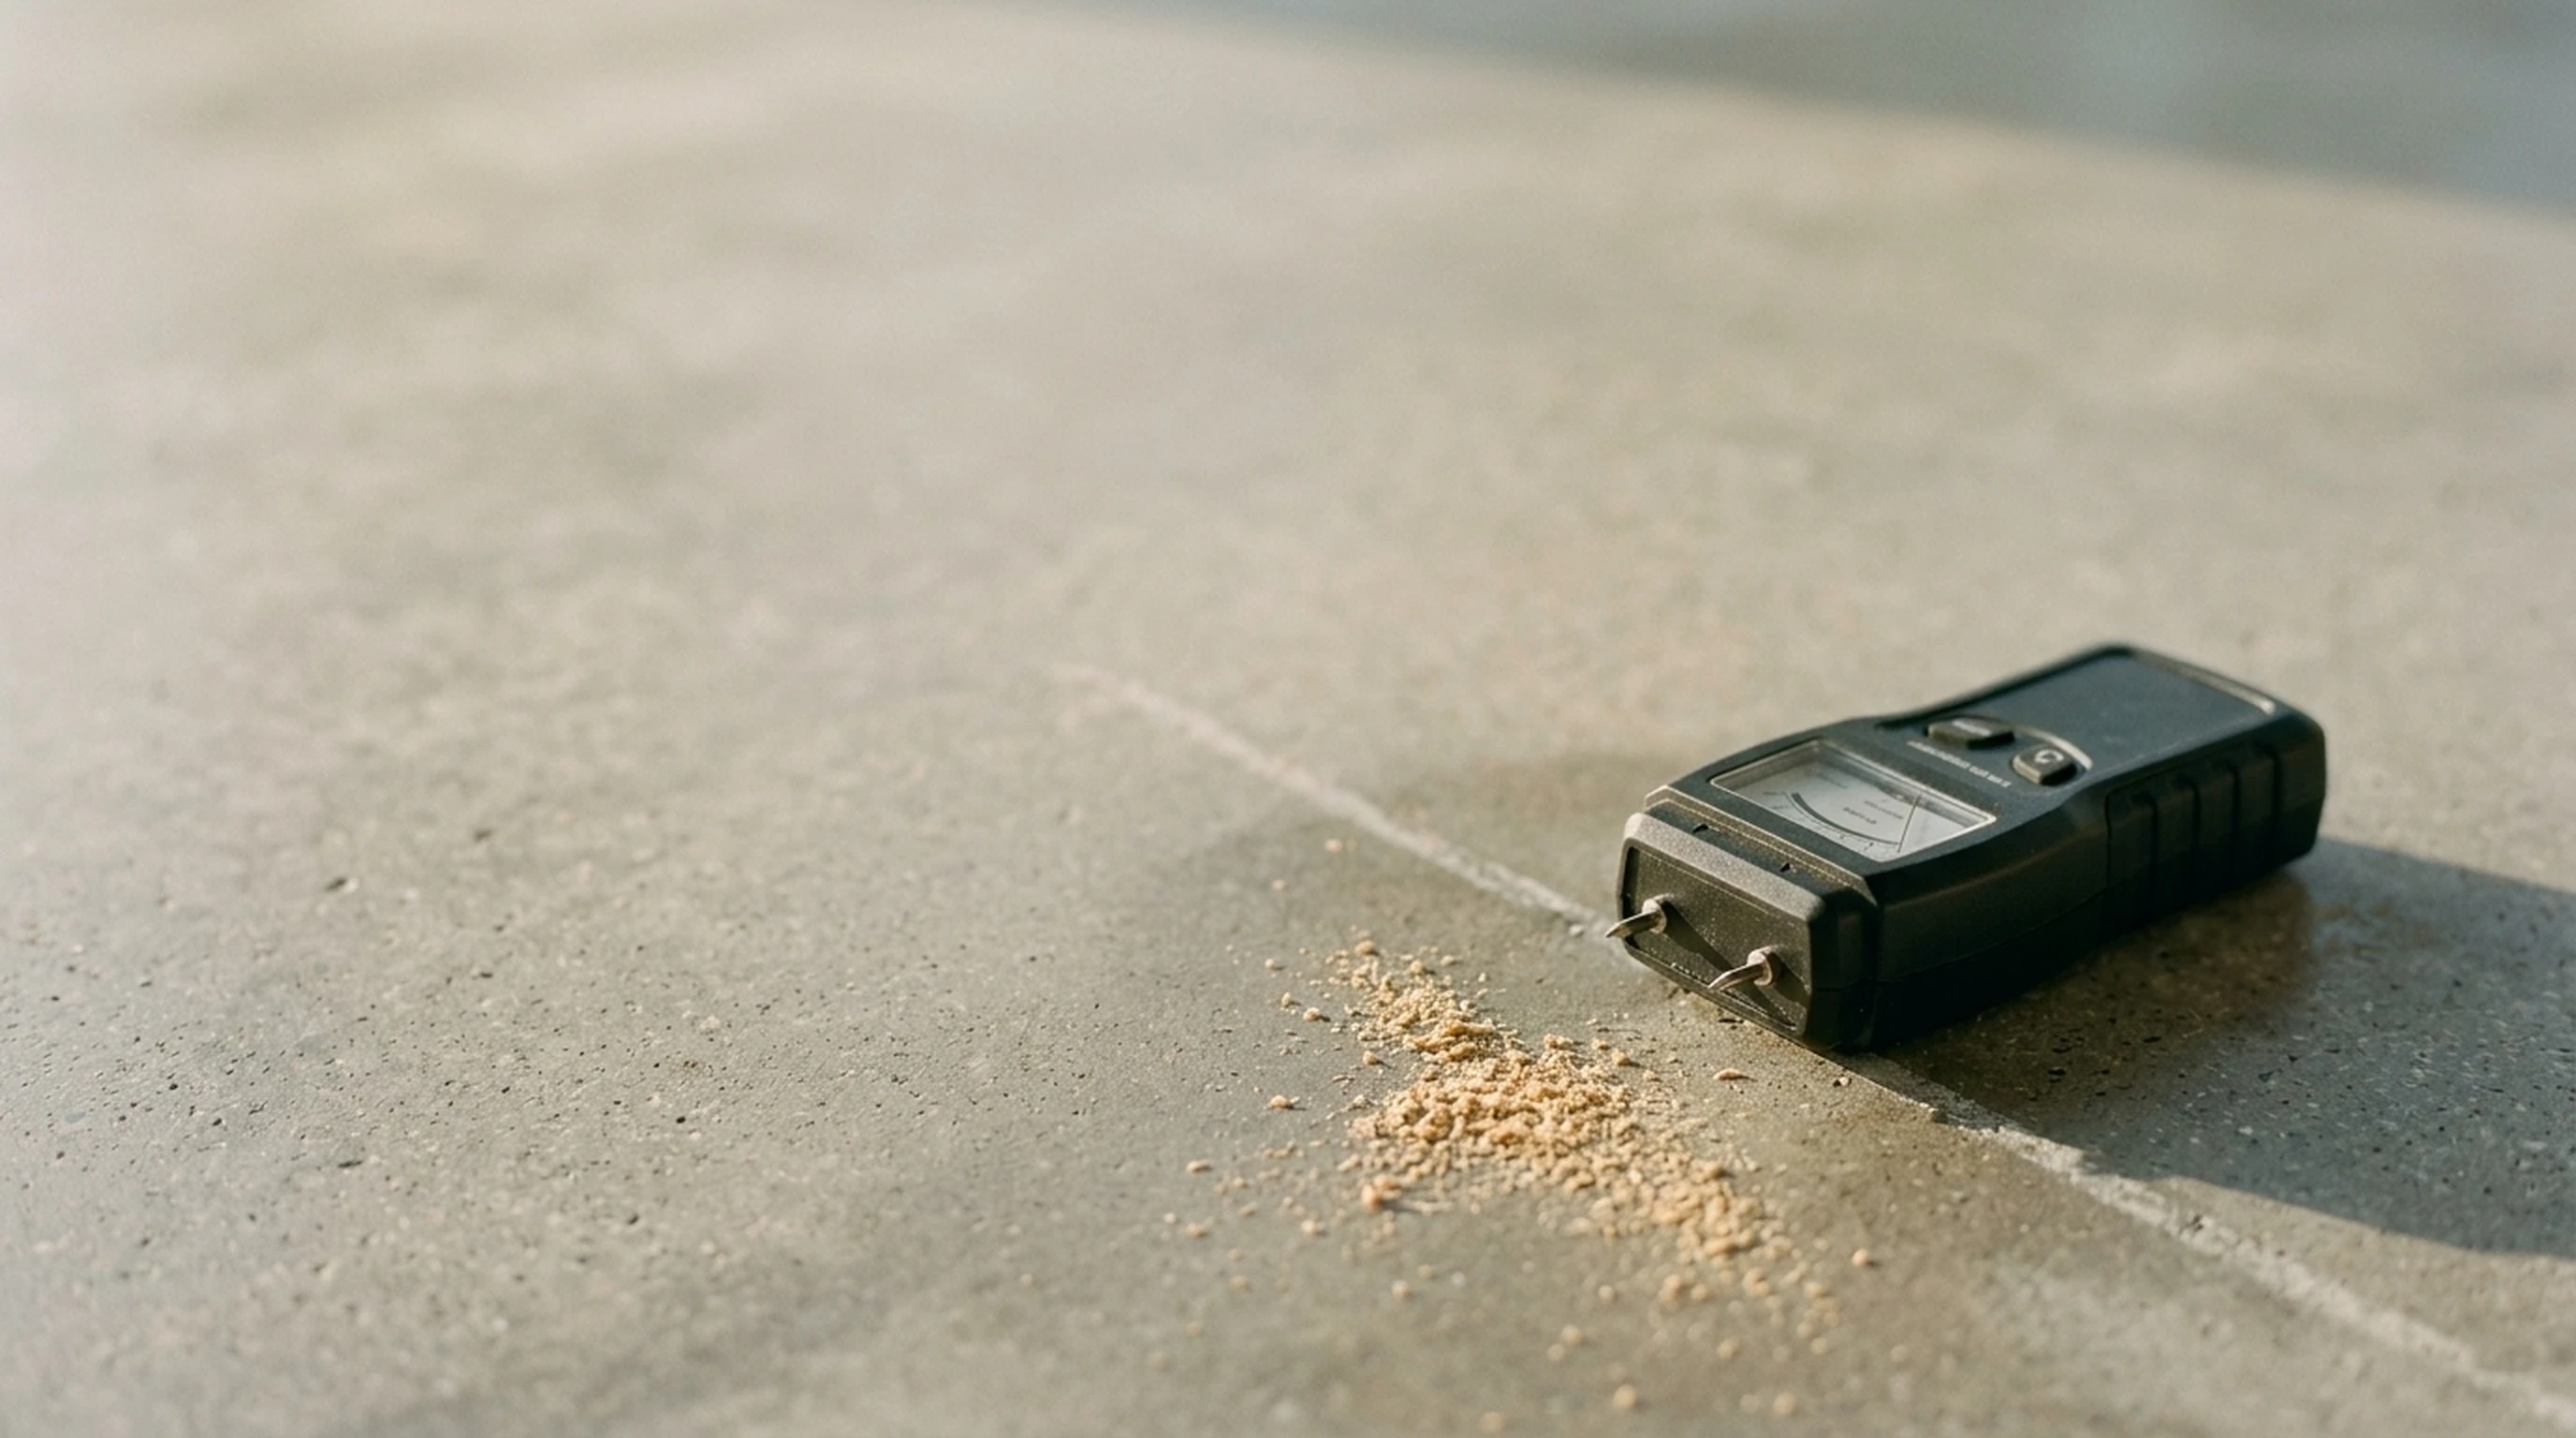
Moisture testing matters just as much. NWFA, Bruce, Somerset, Shaw, Mannington, Mohawk, and others all require concrete or subfloor testing before installation. “The slab looks dry” is not a test.
Why prep flaws are harder to hide in Sarasota homes
Sarasota-area homes often have long, open sightlines, large sliders, and strong natural light. That makes prep flaws more visible. A floor that might look acceptable in a small, dim room can show every dip, patch line, and uneven seam in a bright open-plan home.
Local conditions also raise the stakes on moisture. Seasonal vacancy, coastal exposure, and prior water events can change slab and subfloor behavior. On barrier islands, a pretty product choice does not undo a house history that includes leaks, storm moisture, or repeated humidity swings. Inland homes still need the same prep discipline, especially over concrete slabs.
What to look for / ask / avoid
Ask for specific prep language in the proposal:
- What flatness standard applies to this product?
- What moisture tests will be used, and who keeps the readings?
- Where will patching, crack treatment, or leveling be needed?
- Is a vapor retarder or moisture membrane planned? A vapor retarder is a layer that slows moisture transmission. It is not the same thing as saying the floor is waterproof.
- How are transitions and perimeter movement being handled?
Also ask how hollow spots will be avoided. Homeowners often use “hollow” to describe a floor that sounds empty or loose underfoot. That can happen when the substrate is uneven or the bond is poor.
Common mistakes or contractor shortcuts
The biggest shortcut is pretending prep is optional until demo starts. Another is quoting the finish floor attractively while keeping the leveling and moisture work vague. A third is installing over defects that will clearly telegraph later. Some homeowners also get trapped by the phrase “floating floor,” as though floating means the subfloor no longer matters. It still matters a lot.
An expansion gap is another detail that gets missed. It is the space left at the room perimeter so the floor can move without pushing into walls, trim, or fixed objects. Without enough expansion space, a floor can bind and fail even when the product itself is fine.
Bottom line
The floor label matters, but prep matters more. Before comparing one premium product to another, make sure the slab or subfloor has been tested, measured, and explained. A careful prep conversation usually predicts a better outcome than a glamorous sample board. See how Comfort Style Flooring handles hardwood floor installation from subfloor evaluation to finished surface.